Final Project ‘Digital Picasso’ – Hanyang
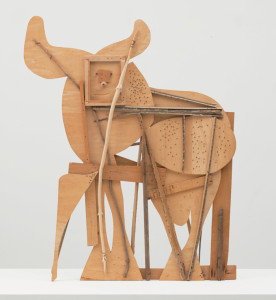
The original inspiration for my project came to me when I visited the Picasso exhibit at MoMA. My interpretation of his sculptures was that Picasso reduced a object to its basic elements and then crafted a piece from them. The sweet spot of this process is when one is able to recognize what the original object is, but at the same time the object appears completely foreign.
Another thing I am interested in was how computers perceived 3D objects. To computers, a 3D object is just a set of vertices, edges, and faces. I wanted to manipulate this process and create a sculpture in the style of Picasso through digital decay.
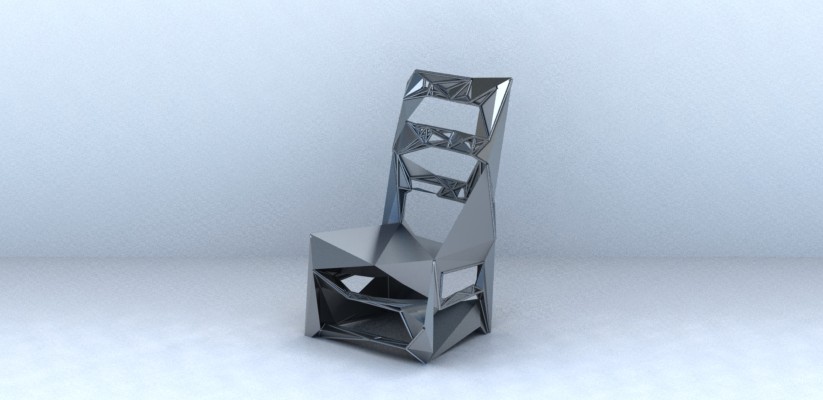
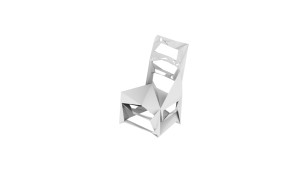
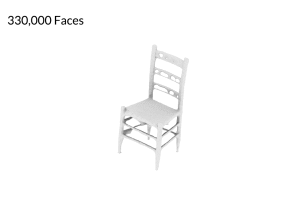
My final process was to 3D scan a chair and auto reduce the amount of faces on the 3D model in Maya until it reaches the aforementioned ‘sweet spot’. One interesting thing I noticed was that the deformation started out very slow even when I reduced the faces by half each time. However, when the model hit a critical threshold of about 20,000 faces, the deformation became much more drastic. I ended up choosing the version with 300 faces which is pictured below.
The next step was to combine it with a 3D model of the wire frame, so its connection with the digital view point is more apparent. I then fixed the geometry of the model by hand, so it makes sense as a real world object. And finally, I 3D printed my sculpture using the MakerBot Replicator 2 3D printer.
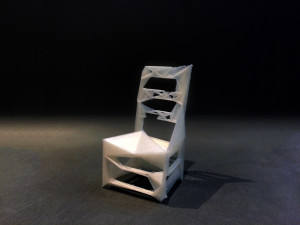
The final piece was about 2″x2″x6″. Because of its relatively small size, it lost some of the details of the original model and had some artifacts from the printing process. These artifacts are actually quite interesting as it adds another layer of organic feel and deformation to the sculpture. If I chose to revisit project in the future, I would like to create a larger version so it retains more details or even a full sized furniture version.
Photo
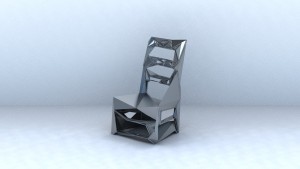
Concept Rendering
Basic Model Renderings at Different Quality Level
330,000 Faces > 150 Faces GIF
Inspiration
